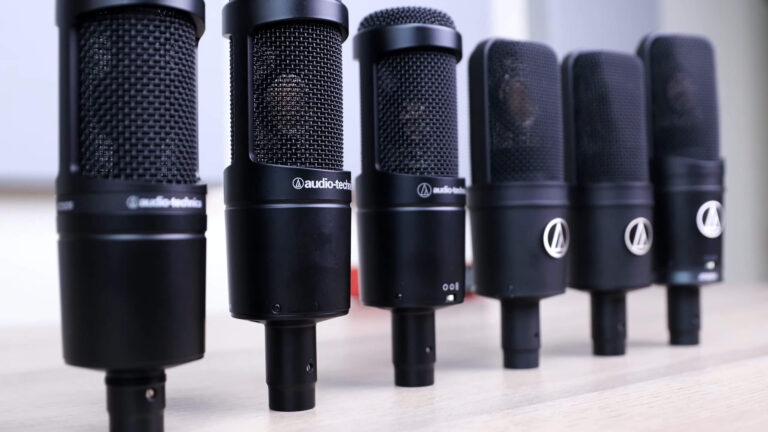
Condenser microphones use a capacitor (or condenser) to convert acoustic energy into electrical signals. This design allows for a more detailed and accurate sound reproduction. Condenser microphones require an external power source, often referred to as phantom power, which is usually provided by audio interfaces or mixing consoles.
One of the most notable features of condenser microphones is their sensitivity. They can pick up a wide range of frequencies and capture subtle nuances in sound. This makes them ideal for recording vocals, as they can capture the full range of a human voice, from the lowest whispers to the highest notes.
Dynamic microphones, another common type, are less sensitive and more robust. They are often used in live sound environments because they can handle high sound pressure levels without distortion. However, for podcasting, where detail and clarity are crucial, condenser microphones typically provide superior performance.
Table of Contents
Benefits of Using a Condenser Microphone for Podcasting
Enhanced Audio Quality
The primary benefit of using a condenser microphone is the enhanced audio quality. The sensitivity and frequency response of condenser microphones result in a richer, more detailed sound. This can make your podcast sound more professional and engaging to listeners.
Clarity and Detail
Condenser microphones can capture the fine details of your voice, including subtle inflections and tonal variations. This clarity can make your podcast more pleasant to listen to and can help convey your message more effectively.
Podcasts with high audio quality tend to have more engaged listeners. Clear, detailed audio helps convey the message effectively and makes the podcast more enjoyable to listen to. This can lead to increased listener retention and growth.
Better Noise Rejection
Many condenser microphones come with cardioid or other directional pickup patterns that focus on sounds coming from the front of the microphone while rejecting sounds from the sides and rear. This helps to reduce background noise and improve the overall sound quality of your recordings.
Practical Tips for Using a Condenser Microphone
Setting Up Your Microphone
Proper setup is crucial to get the best performance from your condenser microphone. Here are some steps to ensure optimal setup:
- Positioning: Place the microphone at a distance of 6-12 inches from your mouth. This distance helps to capture a natural sound without excessive proximity effect (bass boost) or room noise.
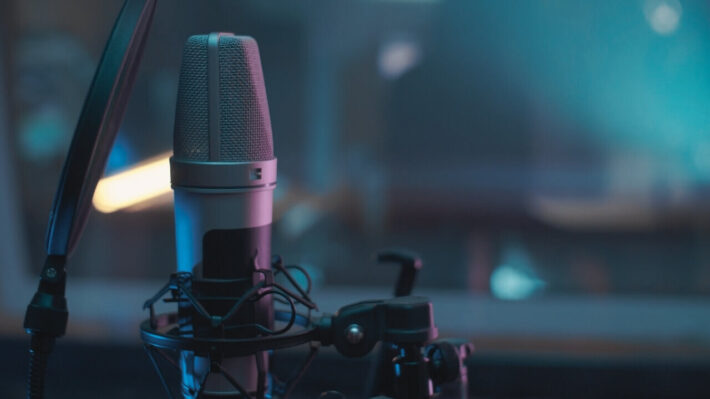
- Mounting: Use a shock mount to reduce vibrations and handling noise. A boom arm or microphone stand can help position the microphone correctly.
- Pop Filter: Use a pop filter to minimize plosive sounds (like “p” and “b” sounds) that can cause distortion. Position the pop filter about 2-3 inches from the microphone.
- Environment: Record in a quiet, acoustically treated room to minimize background noise and reflections. Soft furnishings, carpets, and foam panels can help improve the acoustics of your recording space.
Adjusting Your Audio Settings
Proper audio settings are essential for capturing the best sound. Here are some tips for adjusting your audio settings:
- Gain Levels: Set your microphone gain to an appropriate level. Too low, and your recordings will be quiet and noisy; too high, and they will distort. Aim for a level where your voice peaks at around -6 dB.
- Phantom Power: Ensure your audio interface or mixer provides phantom power (usually 48V) to the condenser microphone.
- EQ and Compression: Use equalization (EQ) to adjust the frequency response of your recordings. Boost the high frequencies slightly for clarity and reduce the low frequencies to minimize background noise. Compression can help even out the volume levels of your recordings, making them sound more polished.
While condenser microphones offer superior sound quality, they can also introduce technical challenges. For example, their sensitivity can make them prone to picking up background noise. However, with proper setup and recording techniques, these issues can be minimized.
Using Additional Equipment
To further enhance your podcast audio quality, consider using additional equipment:
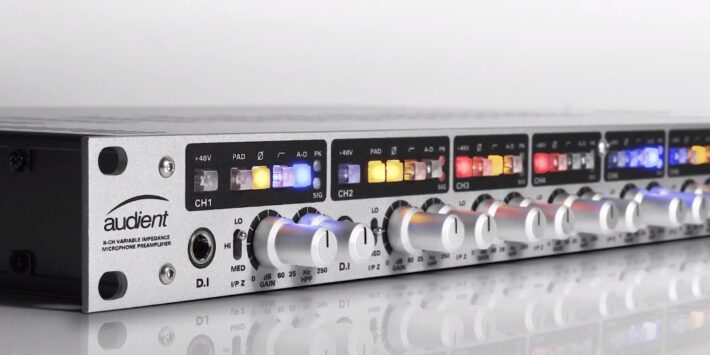
- Audio Interface: An audio interface converts the analog signal from your microphone to a digital signal that your computer can process. High-quality interfaces provide better sound quality and lower latency.
- Preamp: A preamp can boost the signal from your microphone, providing more headroom and reducing noise.
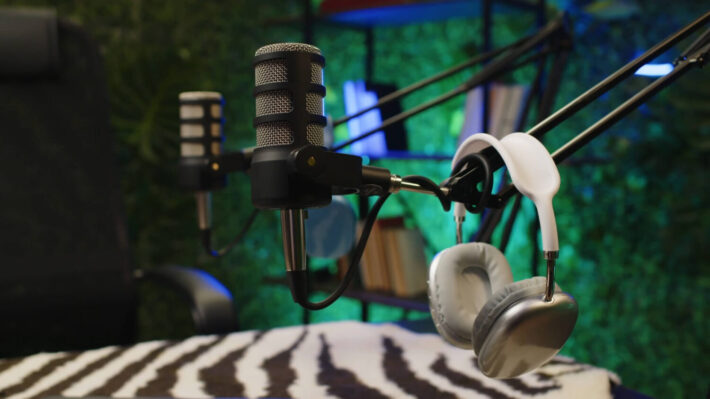
- Headphones: Use closed-back headphones to monitor your recordings. This type of headphones prevents sound from leaking into the microphone.
Comparing Condenser and Dynamic Microphones
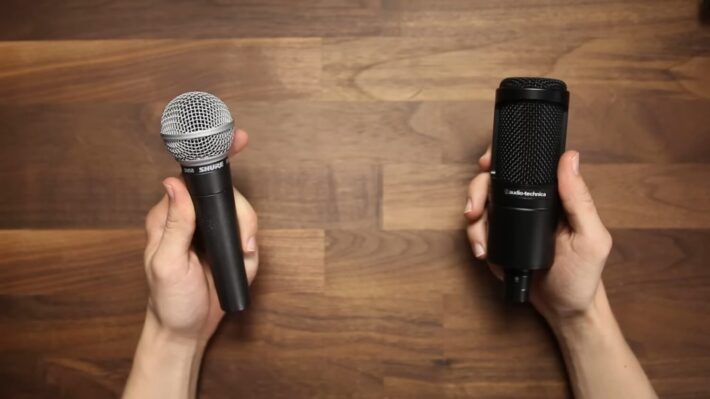
While condenser microphones offer many advantages, dynamic microphones also have their strengths. Understanding the differences can help you choose the right microphone for your needs.
Durability and Portability
Dynamic microphones are generally more durable than condenser microphones. They can withstand rough handling and are less sensitive to environmental conditions, making them ideal for live sound applications and outdoor recordings.
Sound Quality
While dynamic microphones may not capture the same level of detail as condenser microphones, they can still provide excellent sound quality. They are often used for recording louder sound sources, such as drums and electric guitars, due to their ability to handle high sound pressure levels without distortion.
Many successful podcasters use condenser microphones to achieve high-quality audio. For example, the hosts of “The Joe Rogan Experience” and “Serial” use high-end condenser microphones to capture clear and detailed audio.
Versatility
Dynamic microphones are versatile and can be used for various applications, from live sound to studio recording. However, for podcasting, where capturing vocal detail and clarity is crucial, condenser microphones are generally the better choice.
Conclusion
Using a condenser microphone can significantly improve the quality of your podcast. The sensitivity and detail capture of condenser microphones result in a richer, more professional sound. Proper setup, including positioning, mounting, and adjusting audio settings, is crucial to get the best performance from your microphone.
Comparing condenser and dynamic microphones highlights the strengths of each, but for podcasting, condenser microphones generally provide superior performance.